Bamboo flooring, plus a bit of plumbing & shower installation
More great progress over the past week or so! The main event was installing the beautiful strand bamboo flooring I got on discount thanks to Green Building Supply. A big thanks as well to Aaron of GBS for time spent showing me how to properly prepare and install the product.
Before installing the flooring, I had to put down some red rosin paper over the subfloor sheathing. This provides some moisture resistance and prevents the flooring from squeaking against the wood subfloor underneath. I stapled it into place around the edges and taped each seam so it wouldn't peel up or move around.

installing rosin paper

taping rosin paper seams
Then after unpacking the flooring and allowing a few days for it to acclimate to the house, we got right down to business. Despite a few tricky spots (around wheel well boxes, rows to close to the wall to use nail gun, etc), such small square footage meant it really went quickly once we got started. We had to screw down a row or two nearest each wall, since the nail gun would not fit into such tight spaces. We pre-drilled with a 1/4" countersink and use smaller head screws to securely fasten these few boards. Once done, I made a custom mix from a couple different colors of wood putty, and filled each screw hole.
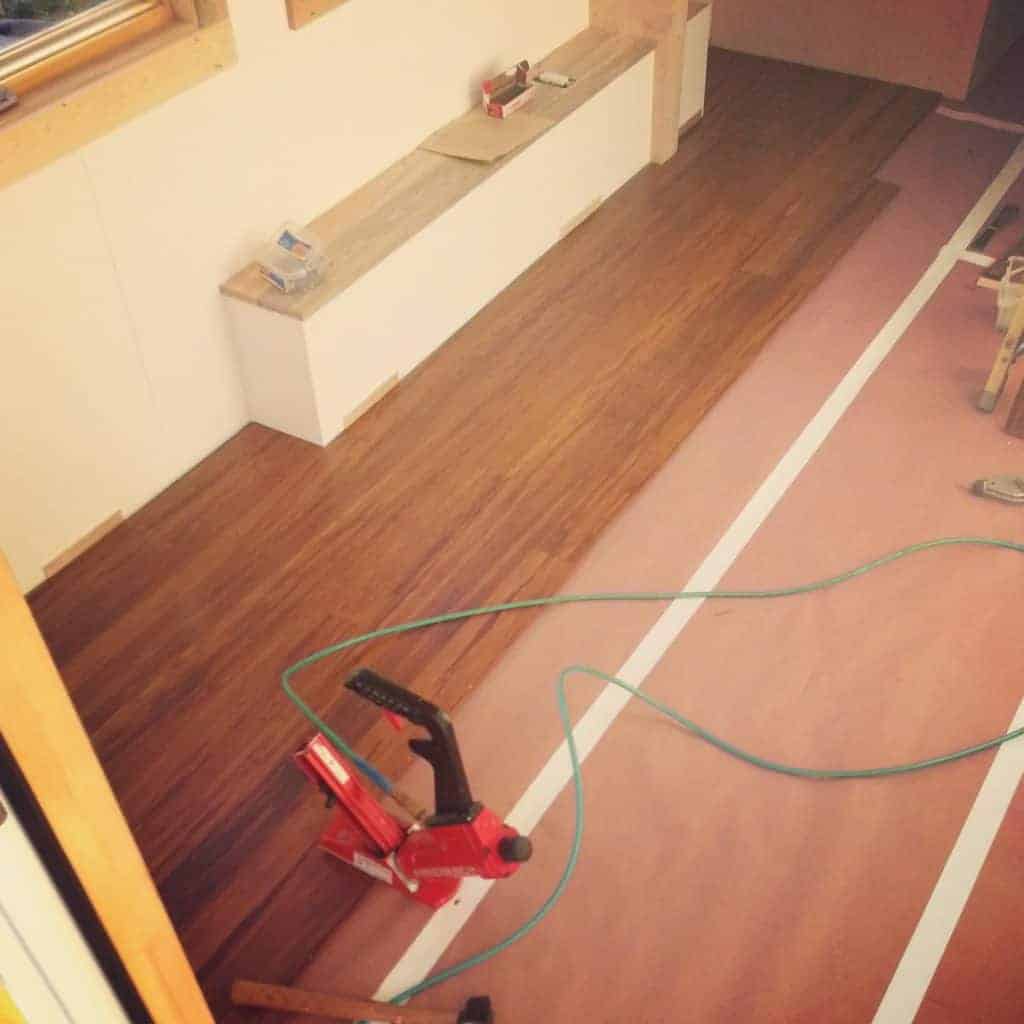
The wood is a sustainably produced, carbonized strand bamboo flooring, that has a rich, warm darker brown color to it. I think it offsets the lighter wood and white used on the walls, ceiling and trim, to create some nice contrast.
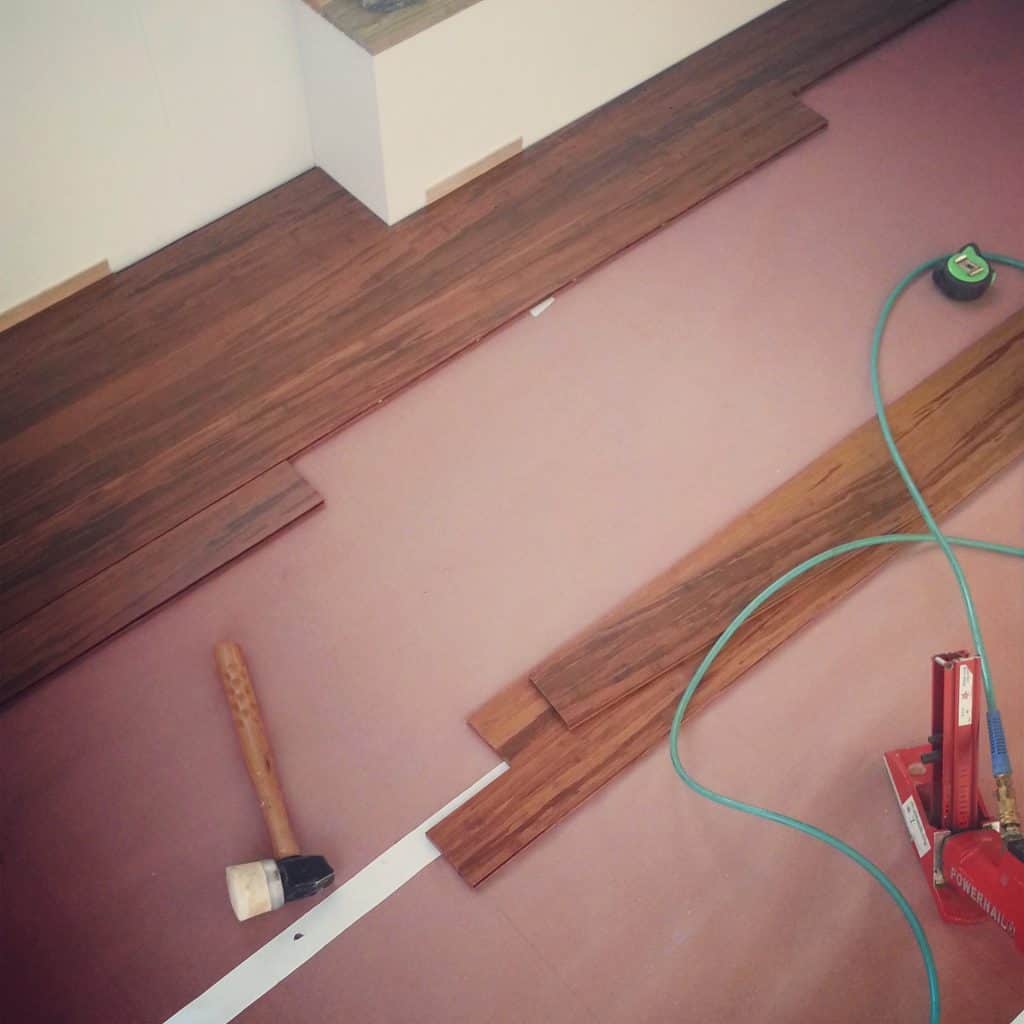
Test fitting the first few rows
moving quickly using the flooring nailer

living area done!
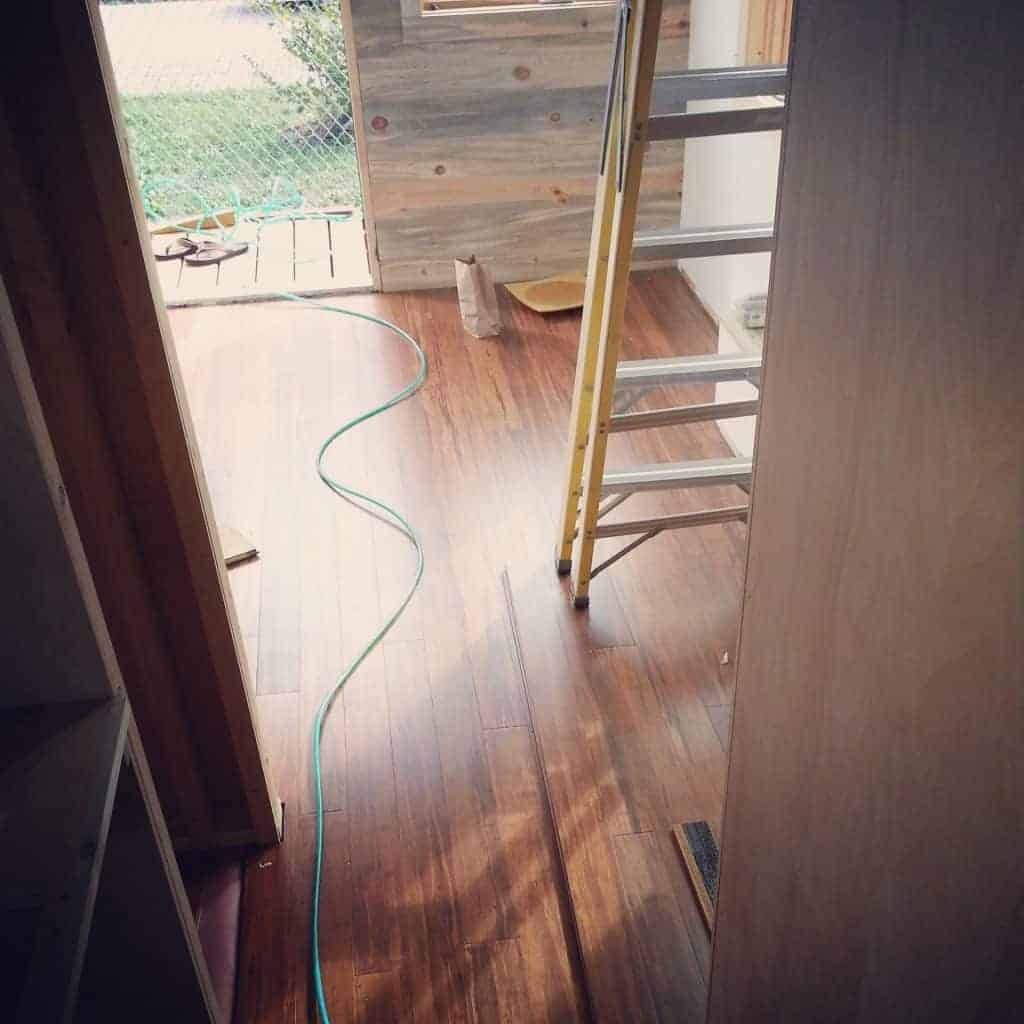
looking back toward entry door

closet spaces have flooring too!
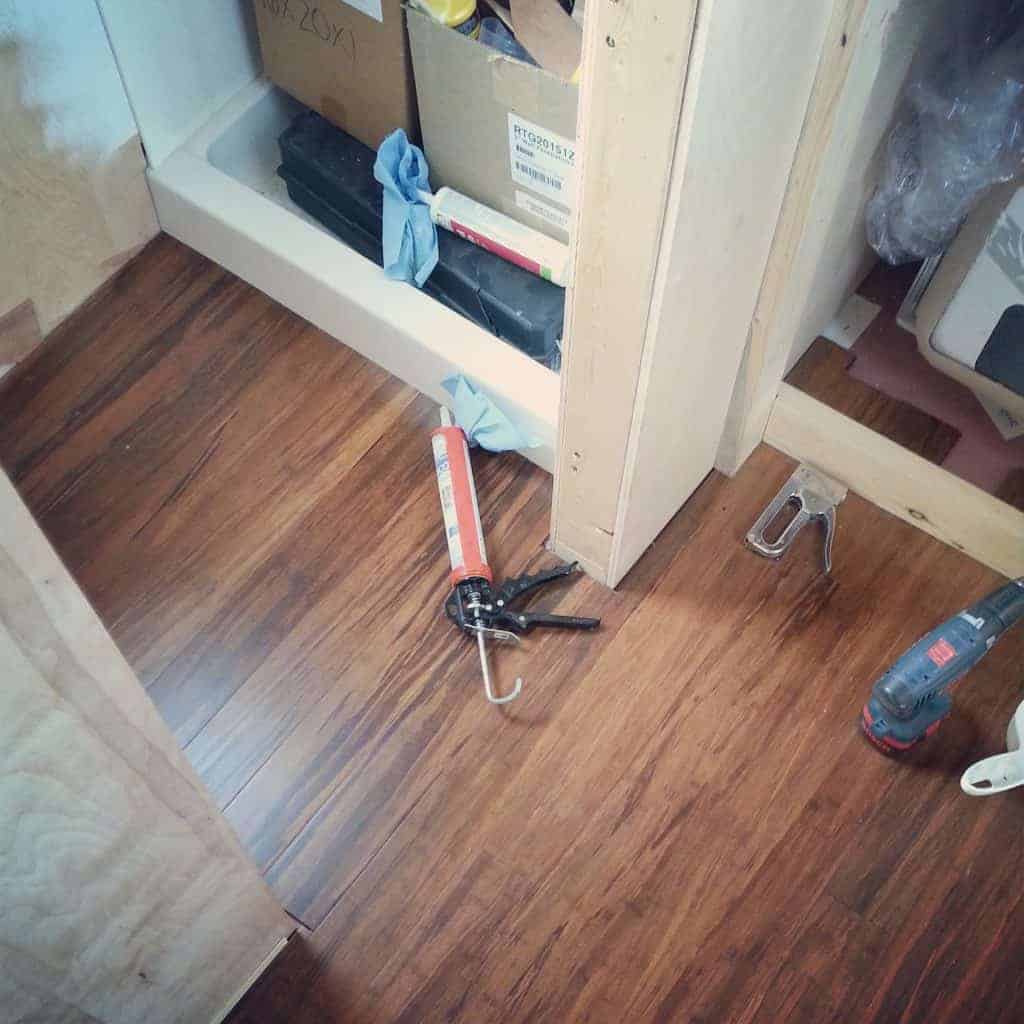
bathroom / kitchen
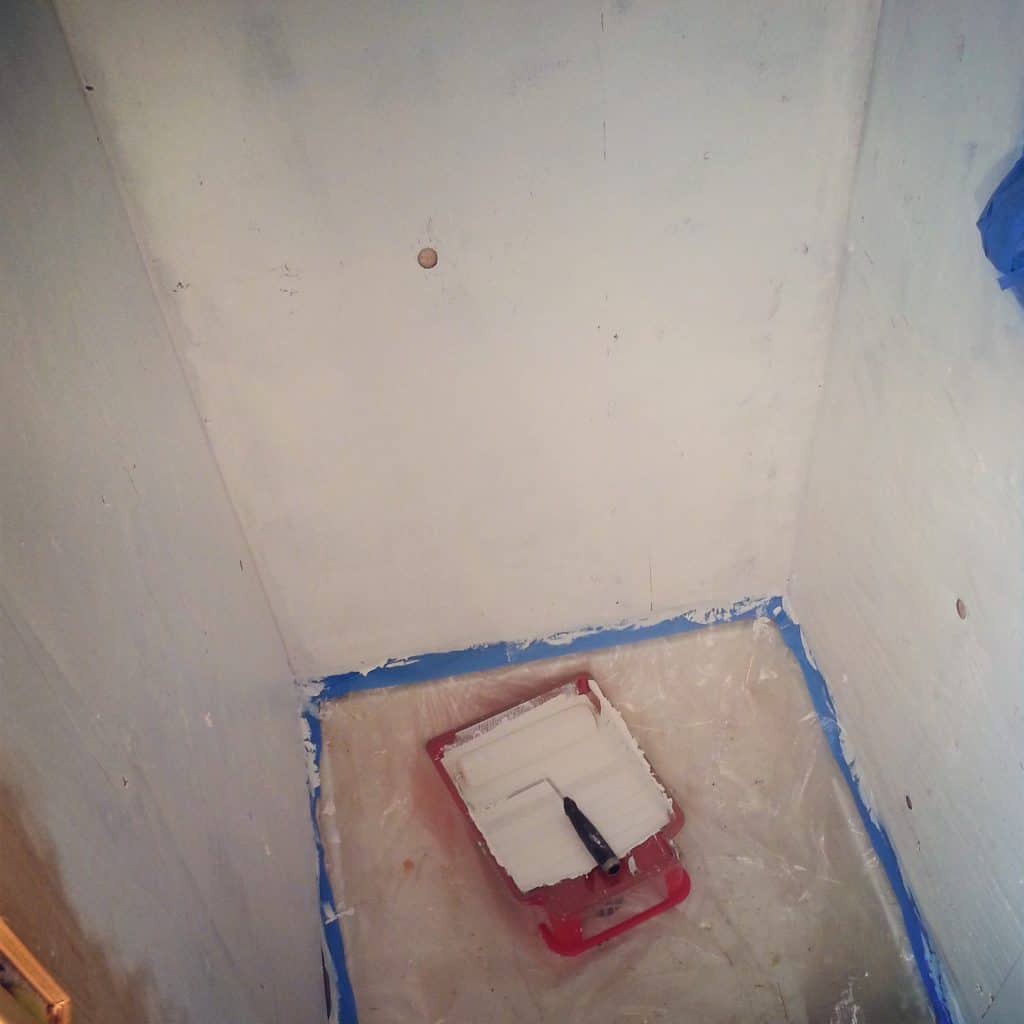
I was originally planning to finish the bathroom floor with a linoleum or marmoleum. A single sheet of such would have been nice and water proof, but needed an underlayment, glue and a heavy roller to install, which would have been a pain to deal with (if not impossible) in such a tight space. I had plenty of bamboo flooring, so I decided just to do the bathroom as well. To keep it nice, I'll just have to be extra careful to wipe up any puddles after I get out of the shower.
In addition to the flooring (actually done a few days before) I also finished the plumbing for the shower, covered the walls behind the shower with an exterior grade plywood, and then primed them. The shower base had been in place for a while, but now I was able to install the shower walls. This was pretty easy (just requiring a few carefully cut holes in one panel, and using some double-sided tape and construction adhesive to secure to the wall). But the tape proved was quite old and it's not sticking as well as it should around the edges. I'm going to have to peel some edges/corners back and replace the tape and add some more adhesive to try to get them to lay completely flat against the wall so all edges can be caulked properly.

plumbing and plywood in place
one coat zero VOC primer

finished fiberglass shower walls
During this final rough plumbing process, I also got the drain completed and ox box hooked up for the washer/dryer, and got 90 degree stops installed for the wall mounted bathroom sink. Duncan has also got a good start on the sliding bathroom door. Now that the flooring is finished, we'll be able to wrap that up soon.
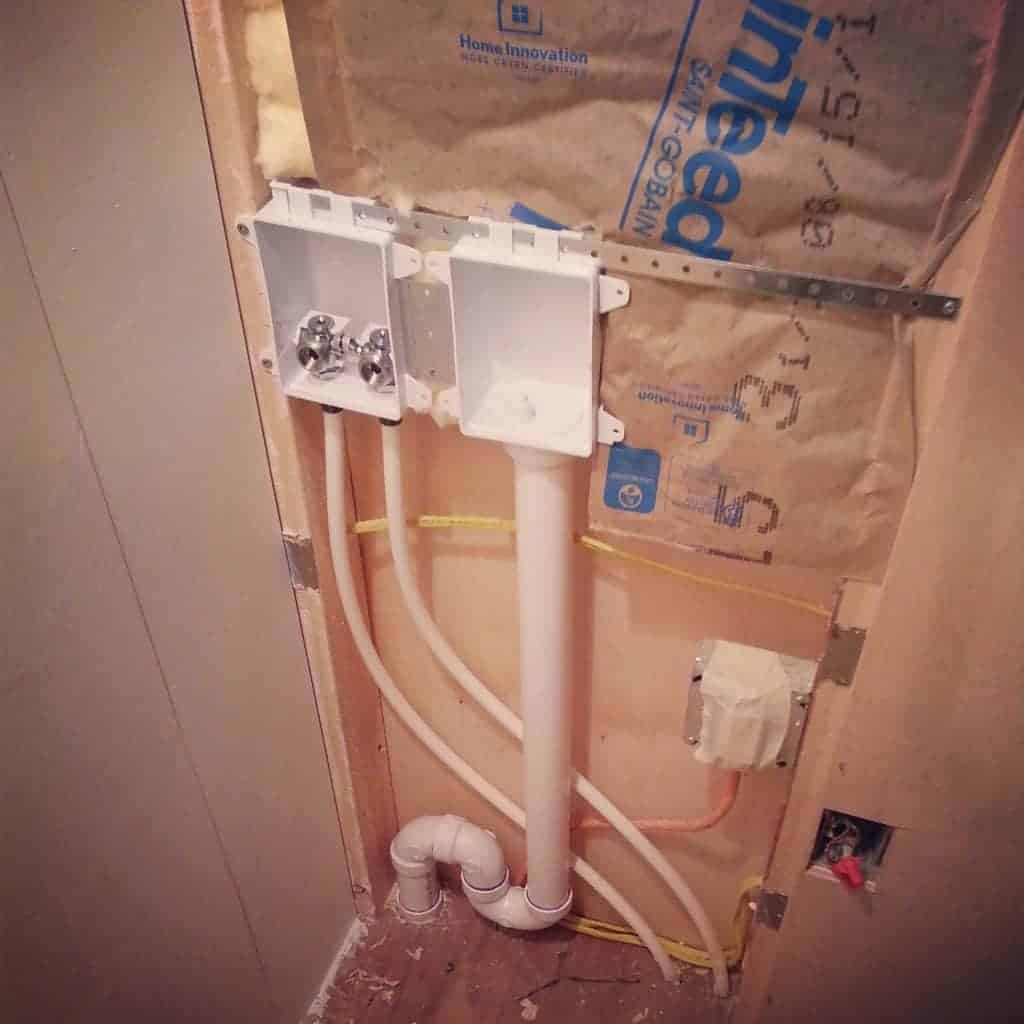
ox box for washing machine hookup
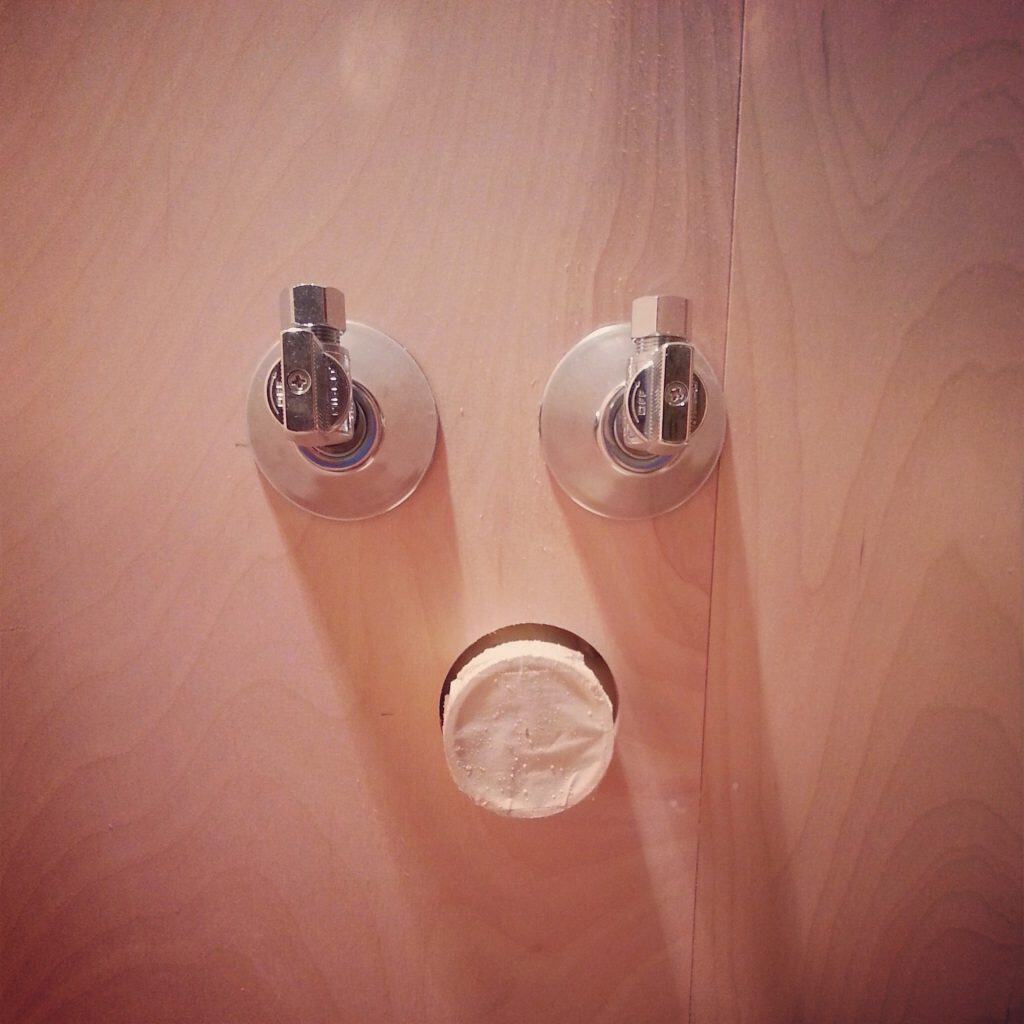
shutoff valves for bathroom sink
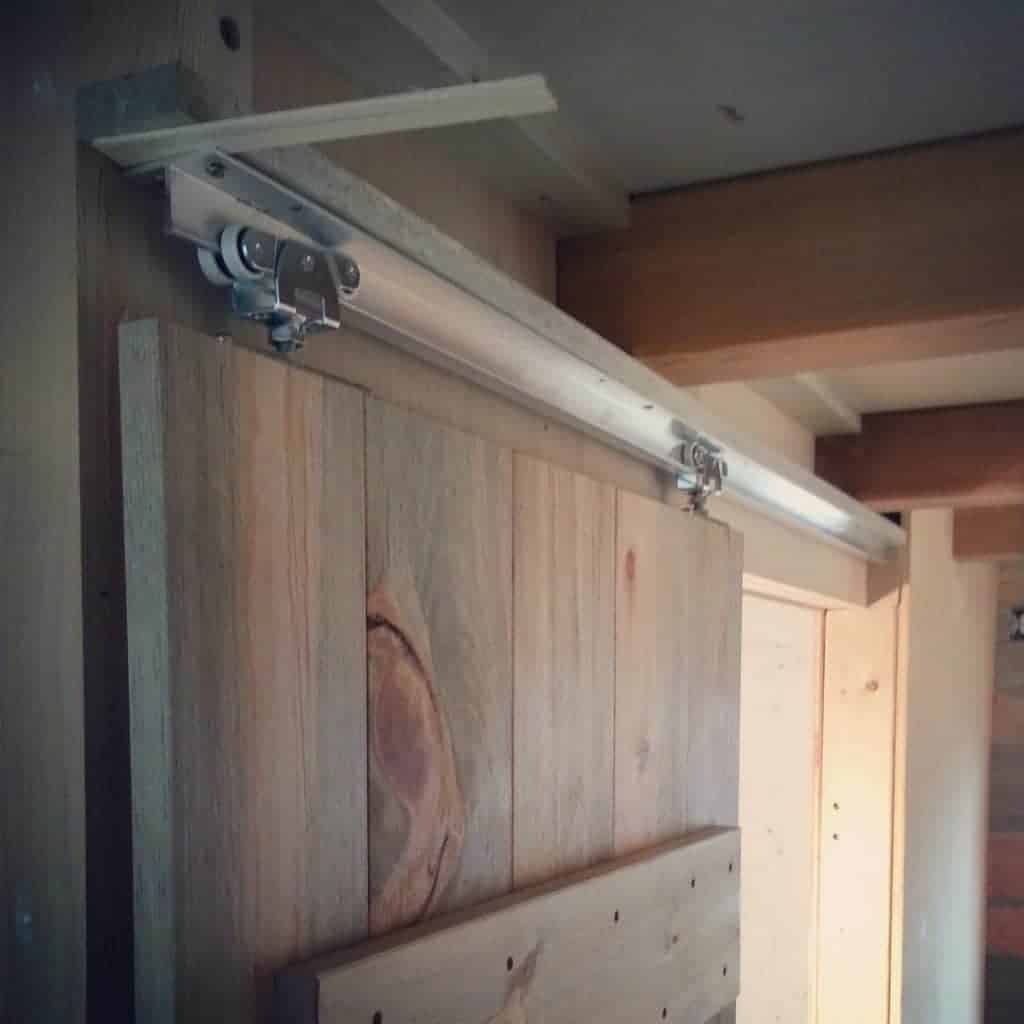
sliding door on track
(What is that insulation for, you might ask? It's just for a little sound deadening in the bathroom walls, to provide a bit more privacy when using the loo!)
Next up:
- more trim work
- kitchen cabinet construction
- counter tops
- kitchen drawers, doors, and sliders
- bathroom and kitchen painting
- bathroom sliding door
It's also time to start building in the desk in the living area, and to start thinking about the folding table and built-in loveseat.
Later...building in closet and loft storage, hooking up appliances, water pressure and propane testing.
You could be an interior designer! This is great!