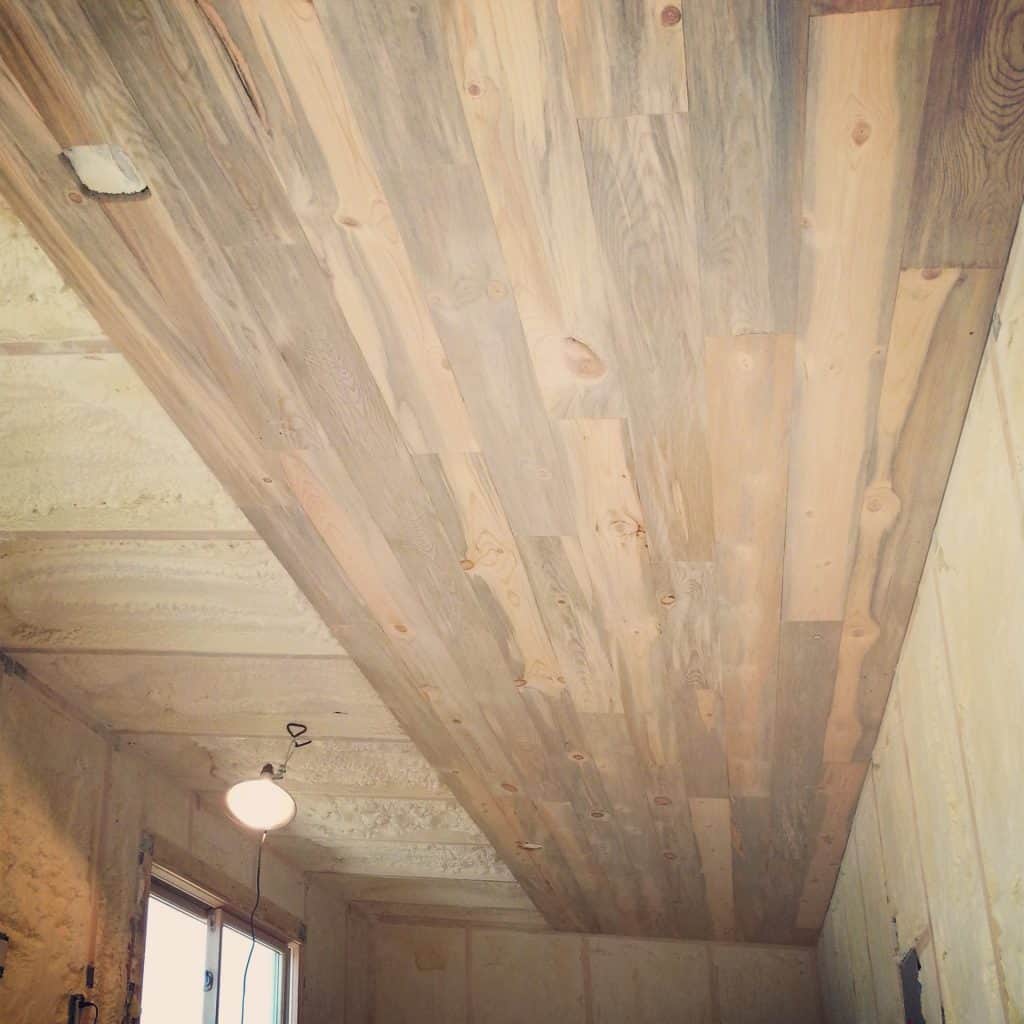
Beautiful blue stain beetle-kill pine ceiling and walls
In the short time since the foam was done last weekend, I've already had more than enough foam dust fall from the ceiling into my hair and eyes, so I figured getting the ceiling covered up was a good place to start. I was also very excited to get started with the sustainable beetle-kill pine paneling that I had received a while ago and was just sitting under a tarp waiting for me.
The Sustainable Lumber Company product is really beautiful. It has lots of variation in color (from clear light pine color, to gray, blue, green, and even some magenta streaks!). Being cut as flooring (and expected to be sanded and finished as such) the surface was just a bit rough for my taste to be used as a finished ceiling to wall. To smooth things out a bit without the tedious working of sanding each piece, I ran each piece through a planer. This also made sure the depth of each cut was the same, for a cleaner look once installed. Having shaved off a bit from the finished surface, I also removed the slight bevel that was applied to each edge. To retain this small bevel (helps to conceal any not perfectly tight joints), I went back and took off the hard corners with a small Japanese hand plane.
Installing the first couple rows was a challenge, constantly bending my back and reaching overhead to hammer in each nail, but soon enough I was half done and could really begin to see how the finished ceiling would look.
Over half done!

Anjali hand planing
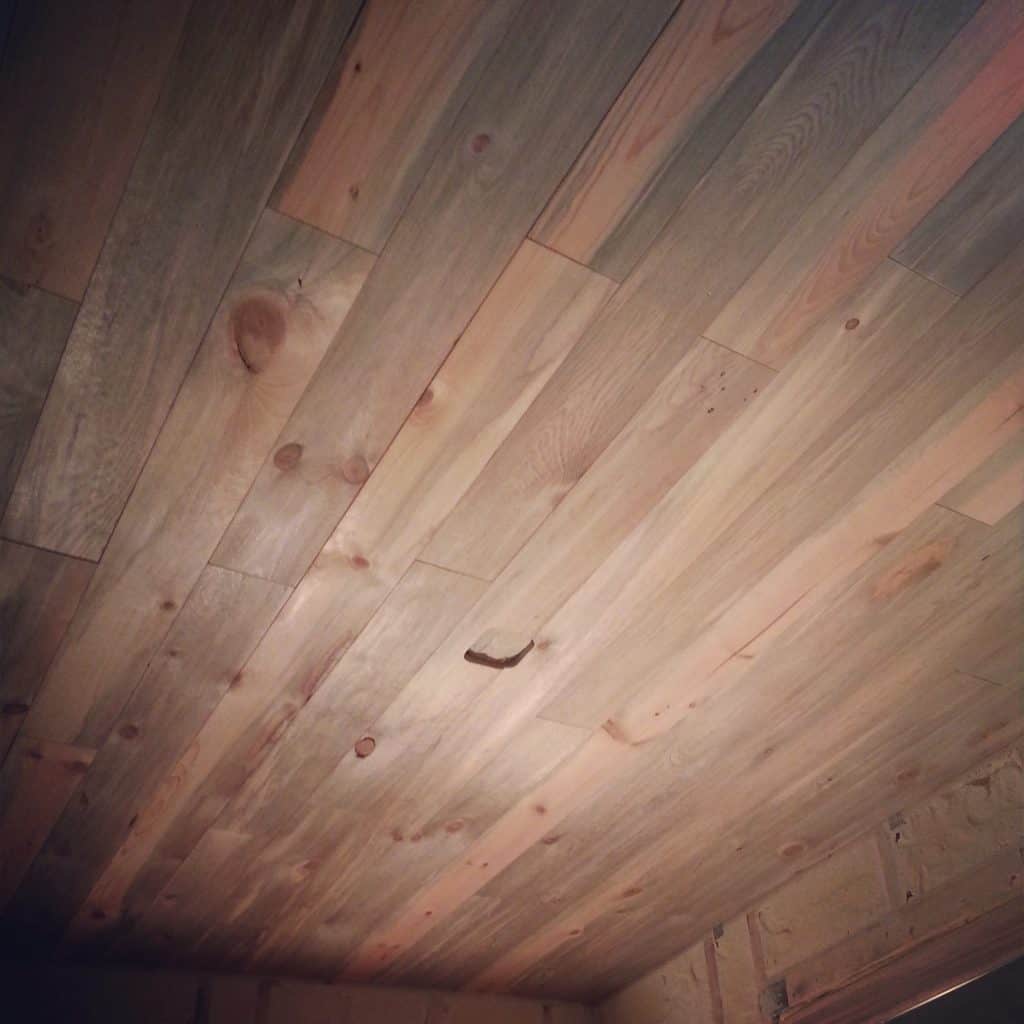
Once I got the hang of it, it was pretty easy finishing up the ceiling. I don't think I'll ever be a fan of using a nail set to sink in each nail head in an awkward overhead position with foam dust constantly getting in my eyes with each knock of the hammer...sigh...but the finished look is well worth it!

finished ceiling
cut-out for ceiling fan wiring
I really love the way this beautiful wood looks! Certainly beats anything you could find at your nearest big-box store!
After the ceiling, next up was finishing the two short end walls with the same beetle-kill pine. These involved more cuts but were much easier to install with a normal, less back-breaking hammering angle. The biggest challenge here was to try and get a perfect joint at the top, against the ceiling (to avoid needing to use trim everywhere -- thus a cleaner look). This was quite difficult, since several boards needed to be cut very precisely at a long angles to match the 7 degree roof slope. Not only that, but due to slight variations in ceiling height along each width, each angled piece also needed some hand-planing to adjust for low ceiling spots to create a very tight fit. It took a lot of working and re-working, but I love the final result.

"East" wall
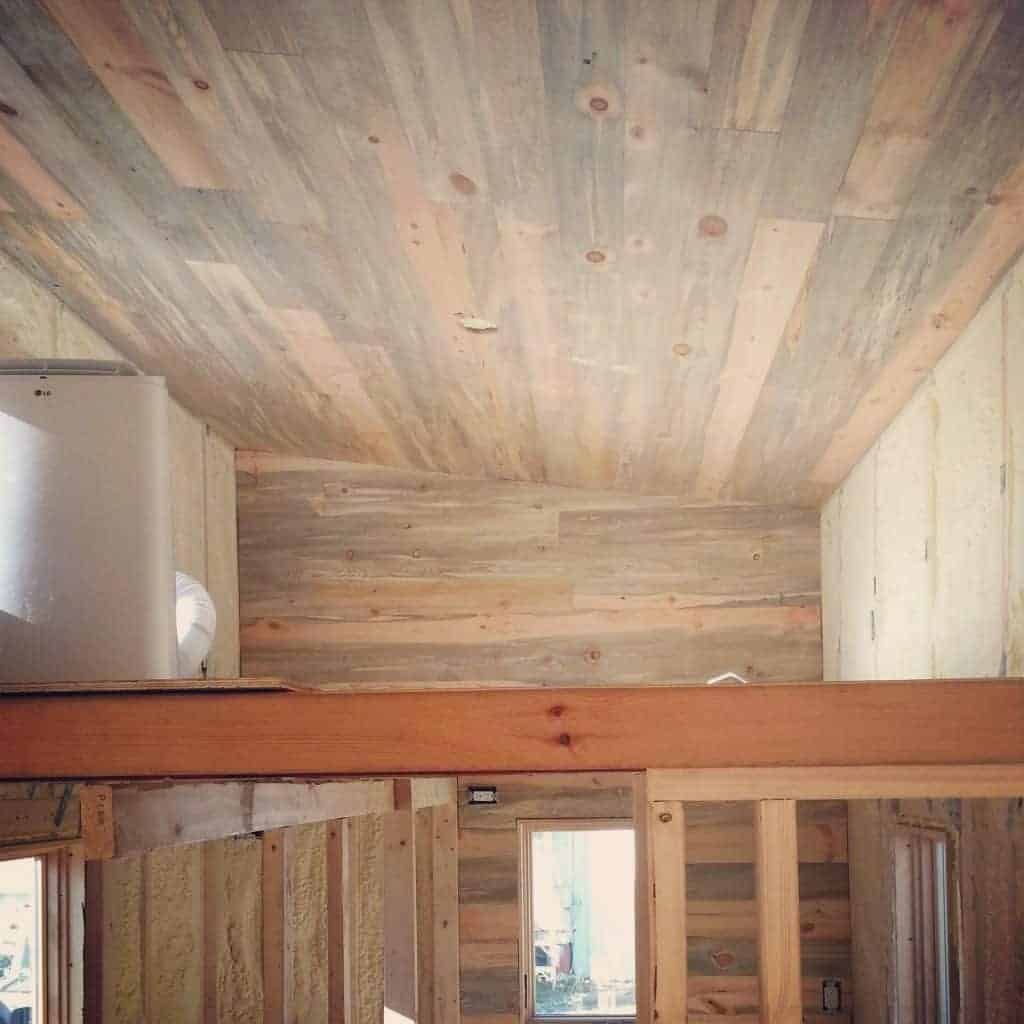
"West" wall
I'm excited to start on the loft floor (same pine paneling), but chose to wait a bit on that get at least the loft walls finished first. This way I can avoid denting up the finished floor with the corners of plywood, dropped hammer and such.
The walls rest of the walls will be finished with 1/2" birch plywood, painted white. Stay tuned for details and pictures of that process.
Good decision on the tight fitting corners. Not using a small trim board will give the interior a very custom and clean look. There is a clear fire retardant that could be applied to the finish and I will send you the URL.
I'm super interested in the fire retardant you would suggest for this!