Insulated headers and wall framing prep
Quick update: In the last couple days I've reviewed my framing plans and calculated exact measurements and placement of all studs and window framing boards, making slight updates for the actual window rough openings provided by the manufacturer and actual measurements from the completed subfloor. I've created all the headers for my South wall, sandwitching 1/2" foam board insulation instead of plywood between the 2x4s, to add a bit more R-value than the solid wood would provide. I've also created both of the large 2x8 headers that will span the fender boxes on both sides. I was able to use the boards I removed from the trailer deck for these, avoiding waste and another lumber purchase. I've also cut all studs for the South wall, save for a few tricky measurements that I will make once I get the rest of the pieces in place.
The challenge now is timing the assembly of all these pieces, so I don't obstruct the daily operation of the warehouse I am occupying. I need to lay all pieces in place, cut a few remaining boards, glue and screw everything together, then lift the wall into place and secure it -- all this in one evening, to have the floor space clear by the early morning.
I'll lay everything out tomorrow evening to check measurements and make sure it all fits together. Then I hope to get a small group of friends together the next day to quickly assemble and lift the wall in place.
Things are further complicated by the fact that I'll have a few wires and pipes to thread through the kick plate of this wall as it is being lifted into place. Not quite as simple as building the wall in place and simply lifting one side up to make it stand vertically. In a lot of ways tiny houses are harder to build than normal ones, I suspect -- especially with the extra challenges I've created for myself with a somewhat atypical design.

Insulated headers to go over wheel wells

Insulated headers
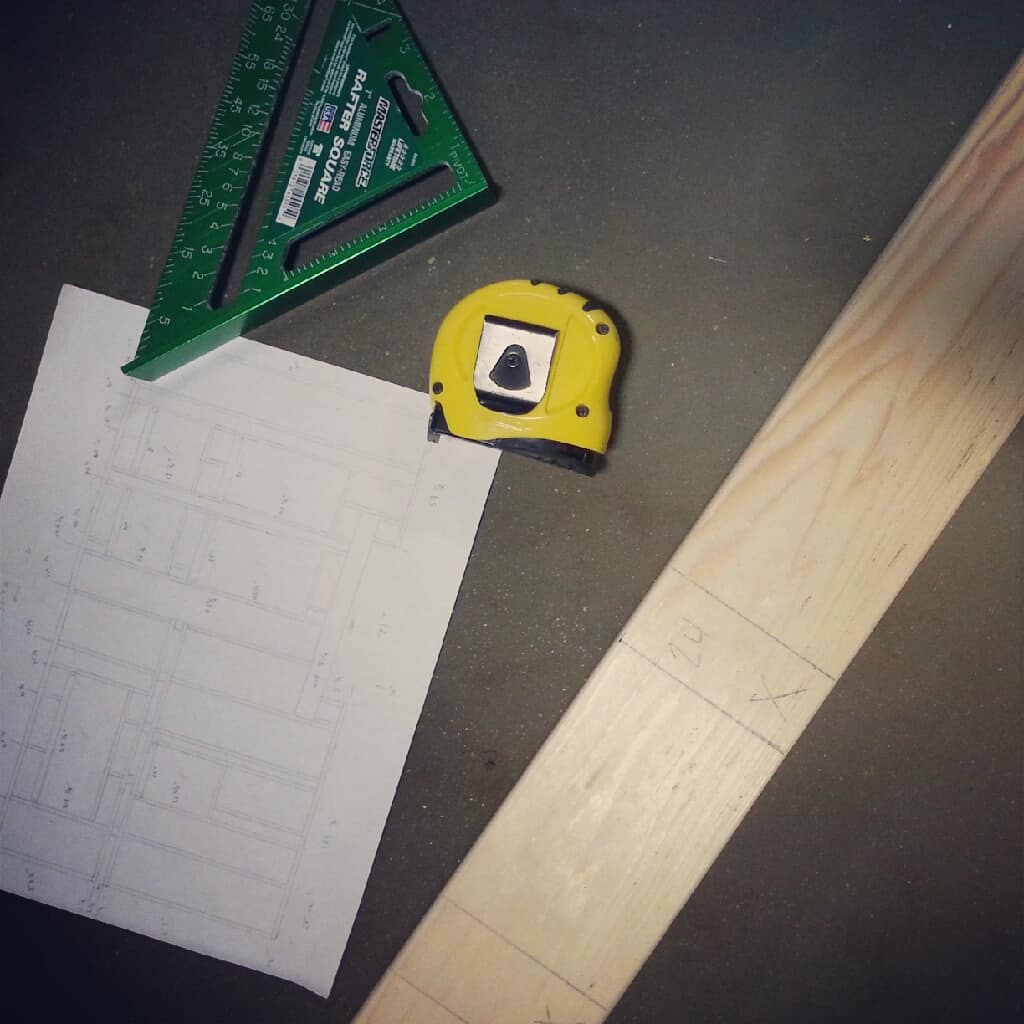
Marking kick plate and top plate

All pieces cut and ready to be assembled