Loft beams finished and installed
My framing is nearly complete. The only major thing left is to put the roof rafters up.
This week was another busy one. After getting all 4 walls up on Monday, I spent the first part of the week tweaking the walls to make sire they were all plumb. Once satisfied that they were as close to perfect as I was going to get them, I screwed each wall down at regular intervals, and added a bunch of lag bolts through the bottom plates of each wall, into the subfloor framing. I'm waiting on 4 tension ties to further secure the walls to the floor at each corner of the house. The exterior sheathing will also contribute a lot to make this a very strong connection.
lag bolts into subfloor framing
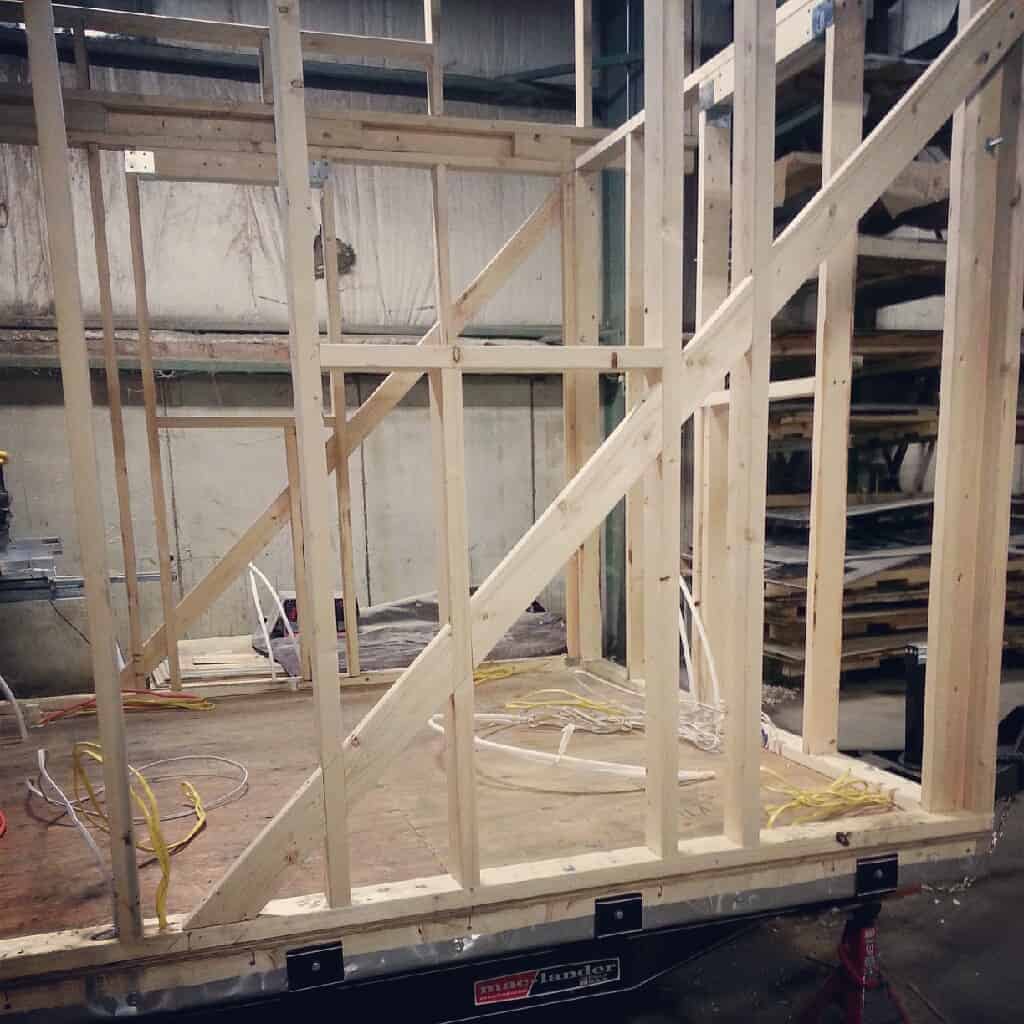
Diagonal wind bracing
Next, I added bolts through wall segments at each corner for help stiffen up the joints a bit. Then I added wind bracing to each corner of the large South and North walls to prevent the structure from racking as it's pulled down the highway and catching a lot of wind. This well help keep everything square, so nothing cracks and windows keep sliding smoothly.
Late this week it was time to get the loft beams ready. I chose 4x4 cedar posts as I wanted something to offset the lighter pine wood color that will be used in the house. I finished each post with 2 coats of an all-natural, clear, penetrating oil wax which will seal the surface, protecting the wood against the moisture of showing and the oil residue from cooking. I love the variation in color between each piece, and within each as well.

Applying oil to loft beams

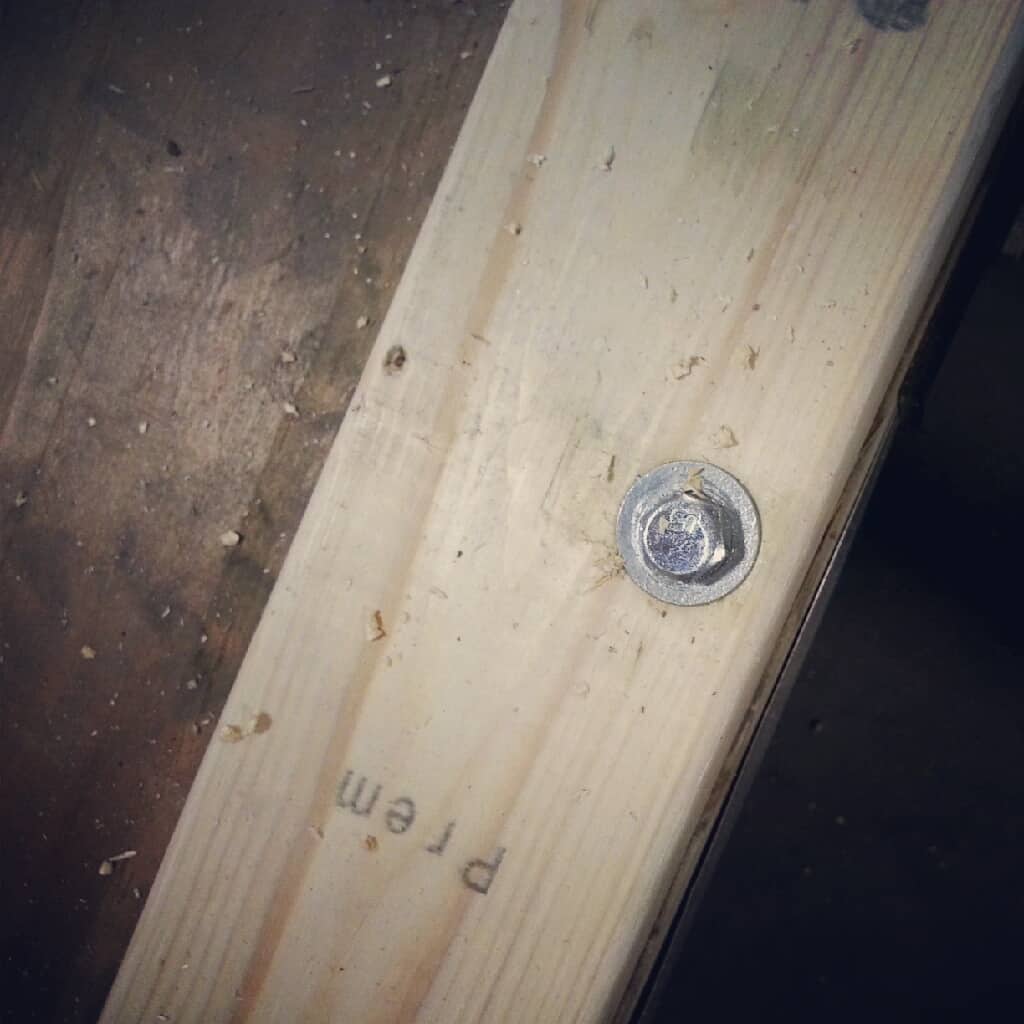
Loft beam bolt detail
In order to support the cantilevered portion of the loft, I had to attach a few perpendicular beams to the last normal loft beam. These extend 18 inches out from the side of the lower wall, to create the extra loft space.
Before applying the finish I drilled two 1" holes, a half inch deep to make room for a washer, and in the center of each, a pre-drilled hole for a 6" lag bolt to connect each joint. Once all put together I think it makes a really nice detail. I like a little exposed hardware, and the inset look makes it seem sleek and finished.
After allowing a day for the oil to absorb and dry (almost -- it's too cool and wet here for it to cure as well as it should), I lifted each into place and secured them.

Loft beams in place

Loft beams from above
Now that the loft floor was complete and the cantilevered section supported, the last step was the build that last little wall segment to finish the West wall. This was small enough to lift into place myself.
Once finished, I added a few smaller wind braces to these top wall segments in the loft. This area will catch the most wind when traveling, so I wanted to make sure it was well braced.

Final wall segment in place
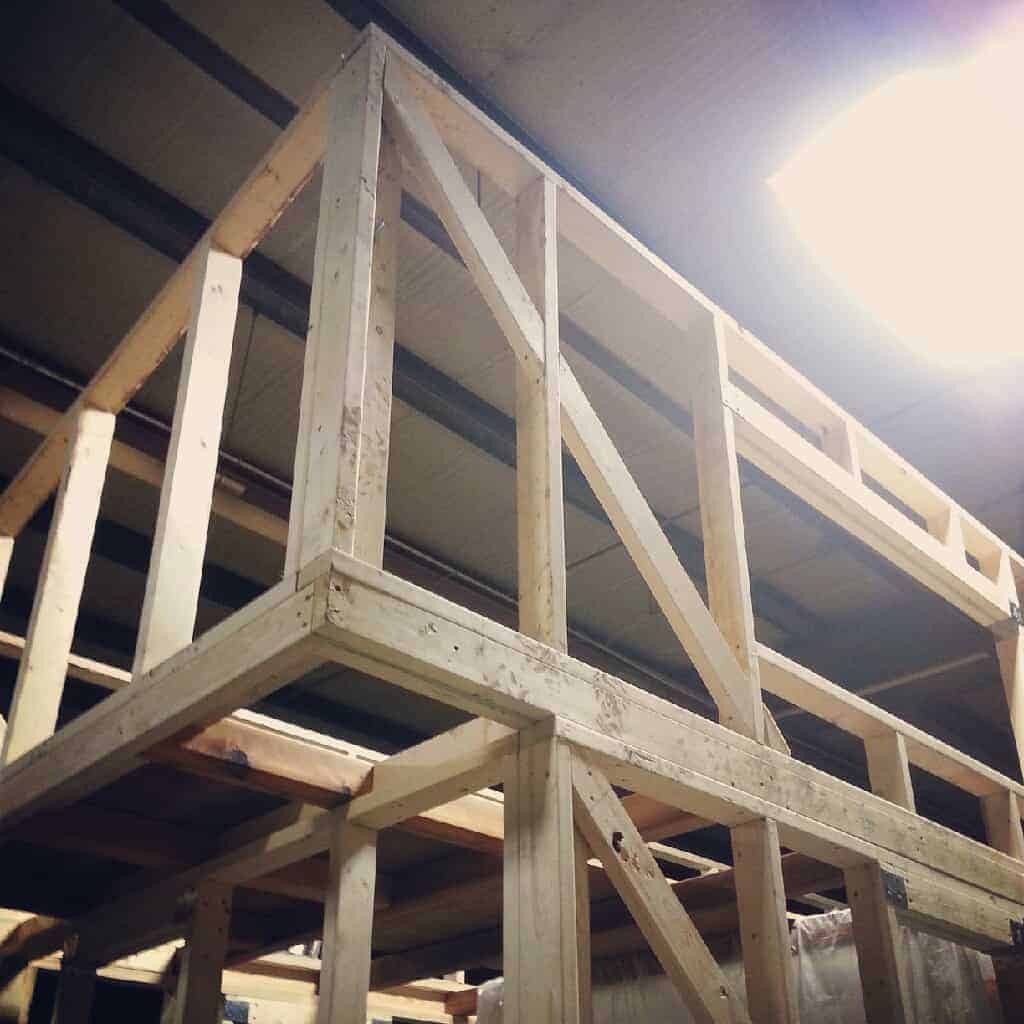
More wind bracing

Now it just needs a roof!