Nearly finished white walls! (birch plywood, painting and window trim)
It's been a long time since my last update, but I've got a lot to show for it! The past couple weeks have been spent finishing up a majority of the interior walls.
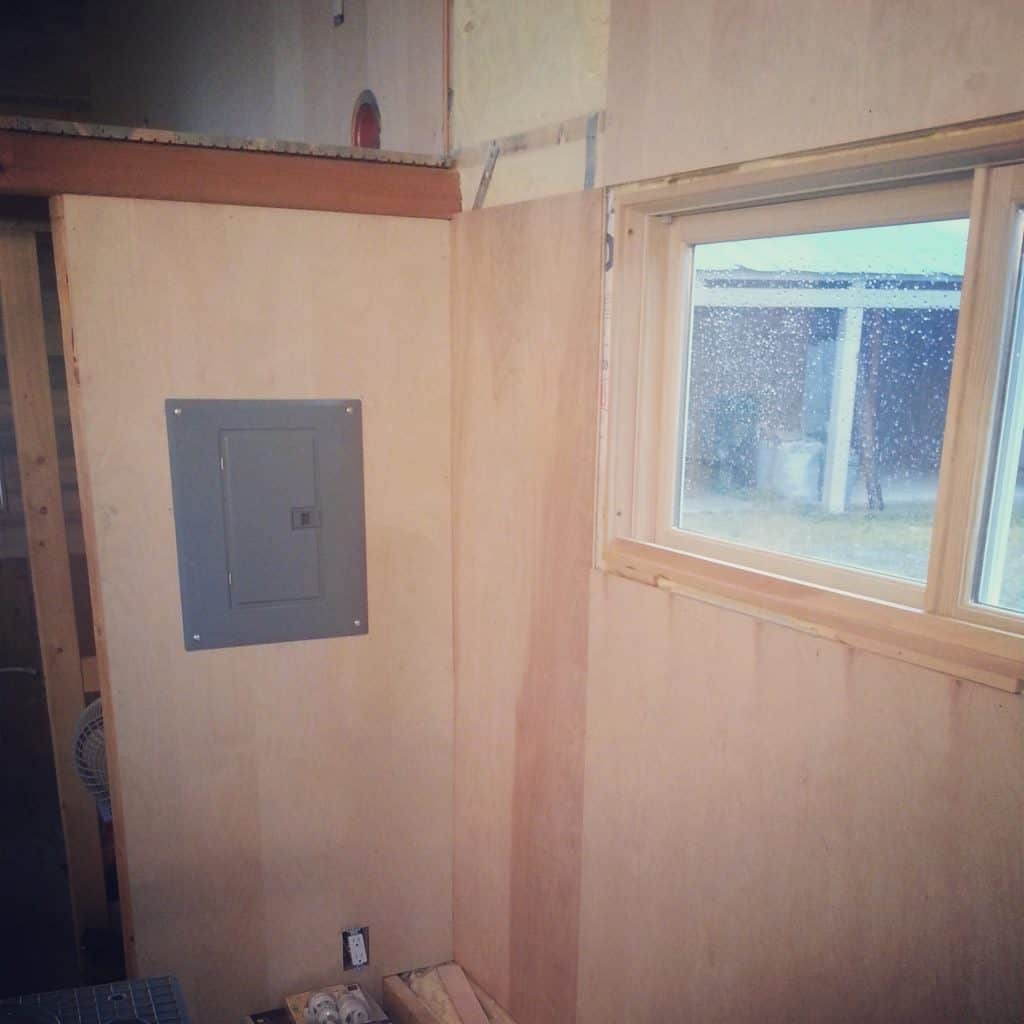
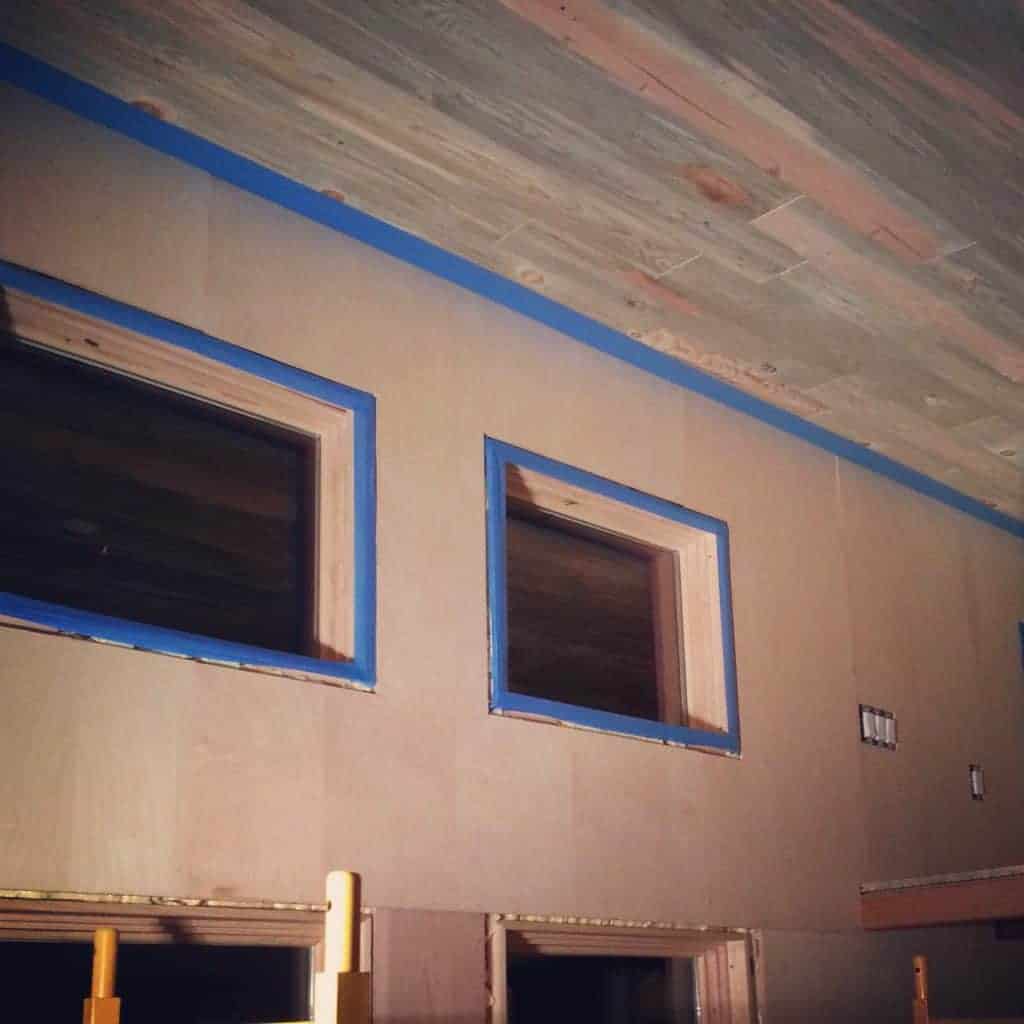
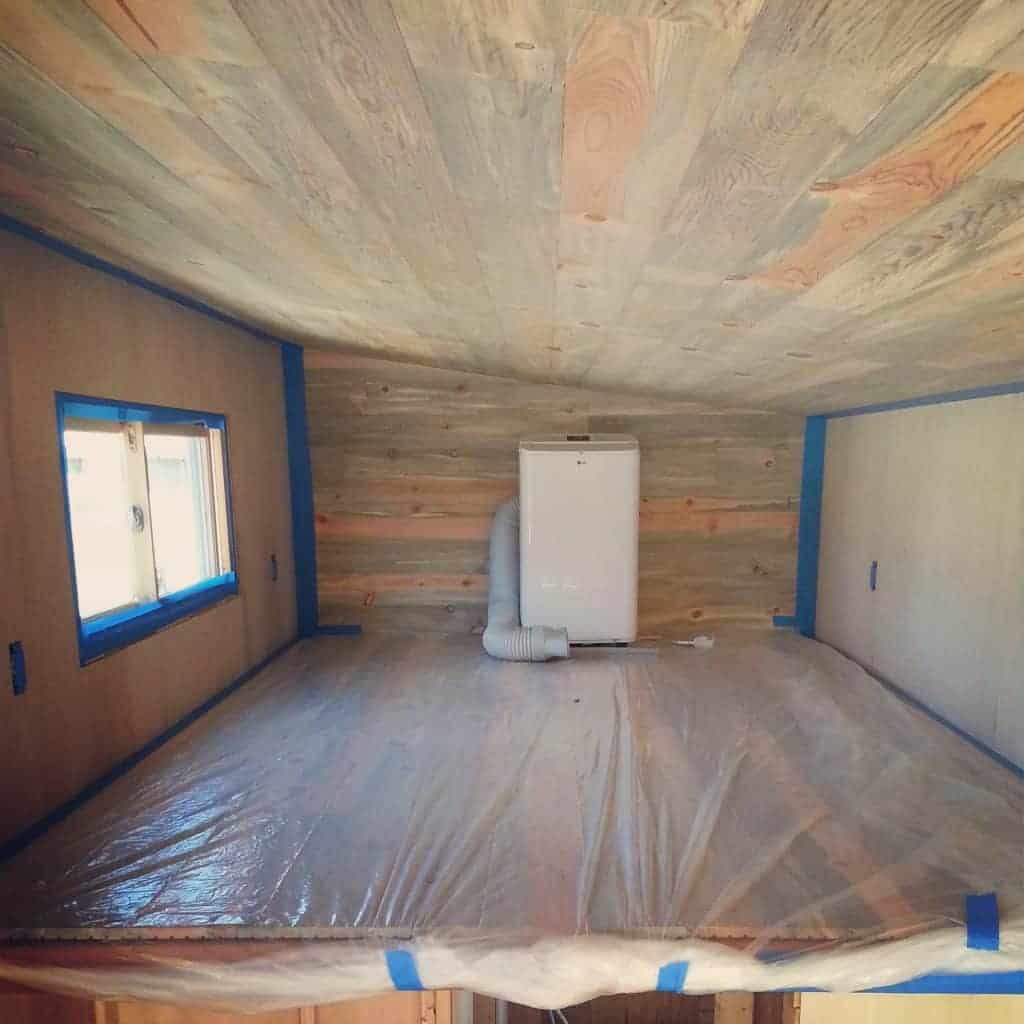
As alluded to earlier, I chose to use 1/2 birch plywood for the walls. There were many factors to this choice. I wanted the look of clean, white, painted drywall, but knew that unless done in a very particular way with flexible tape and such, drywall was was likely to crack as the house jolted and bumped during highway travel. Wood, on the other hand, is more flexible, and if the joints were left unfilled, a little wiggle room would be left for the walls to flex a bit as the house traveled.
I first considered 1/4" birch, but it was simply too flexible and warped to easily to rest completely flat against the walls studs. I needed something a bit more rigid. So 1/2" plywood it was. I carefully cut each piece for a perfectly tight fit along the roof and wall corners, to avoid the need for excess to trim to cover gaps. I also hand-planed off the sharp corners on each edge, to help soften and mask any imperfect joints. There are places where protective plates, framing hardware and nail heads make it impossible for the plywood to rest perfectly flat and some joint have one sheet sticking out just a hair past the other. But with a lot of help from the amazing Duncan MacMaster, the plywood came out beautifully, and joints and imperfections were kept at a minimum.


With the wall surface in place, I thought "why not go ahead and paint it?" So I got some all natural, non-toxic paint from Green Building Supply and started prepping. Each finish nail used to fasten the plywood needed to be sunk with a nail set, and then each hole filled with Spackle and sanded smooth. Edges were masked and we were ready to paint!


The paint I used was a primer and paint in one, and it took two coats for perfect, solid color. We chose a warm off-white color (nearly white), for a nice clean look, but not too cold.
It took 2 pretty long days for some of the finish work and to complete the two coats, but the finished walls are fantastic! The plywood turned out as good as I could have hoped, with joints that are hardly visible.
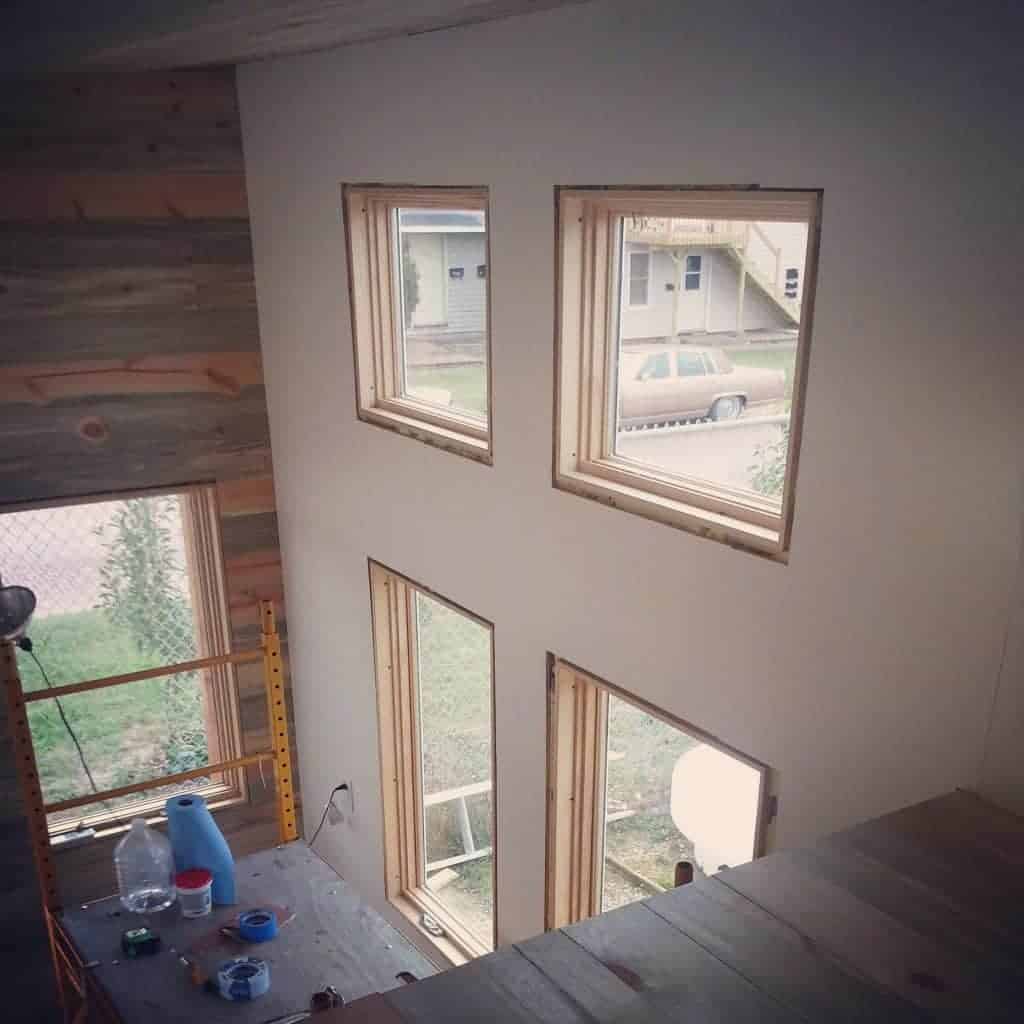


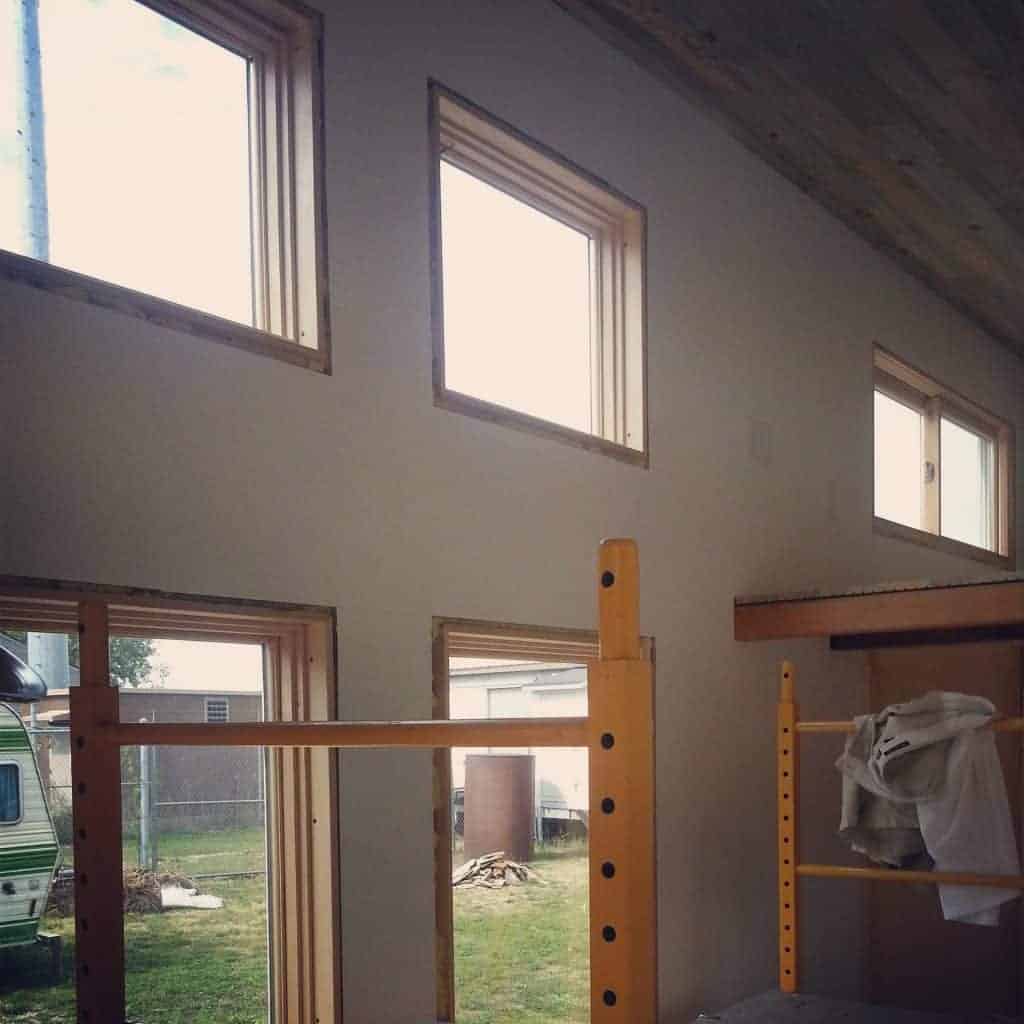
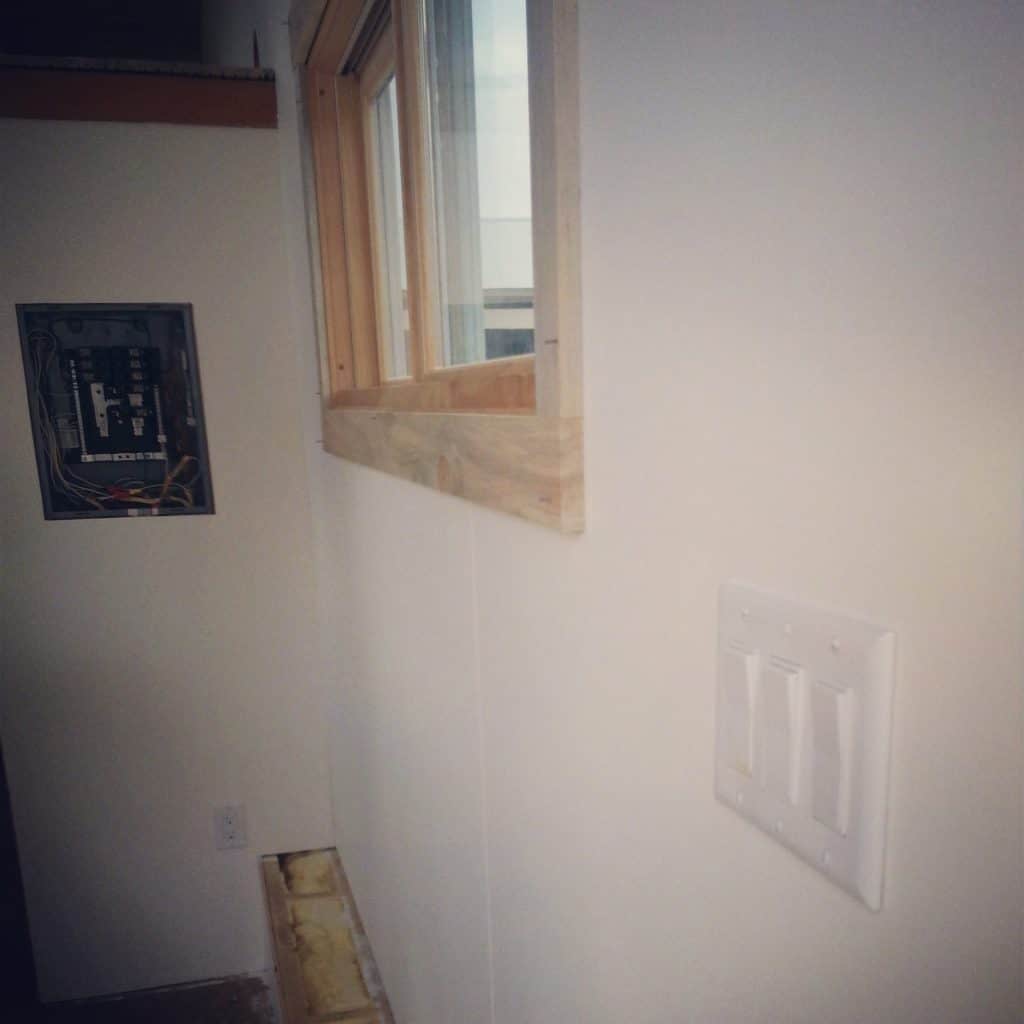
Once the painting was done, Duncan got a quick start with the window trim. I got some similarly stained pine to match the ceiling and short end walls, so it will all tie together well. To see what the finished wall would look like, I also went through and installed all of the wall plates for the outlets and switches. So nice and clean looking now!


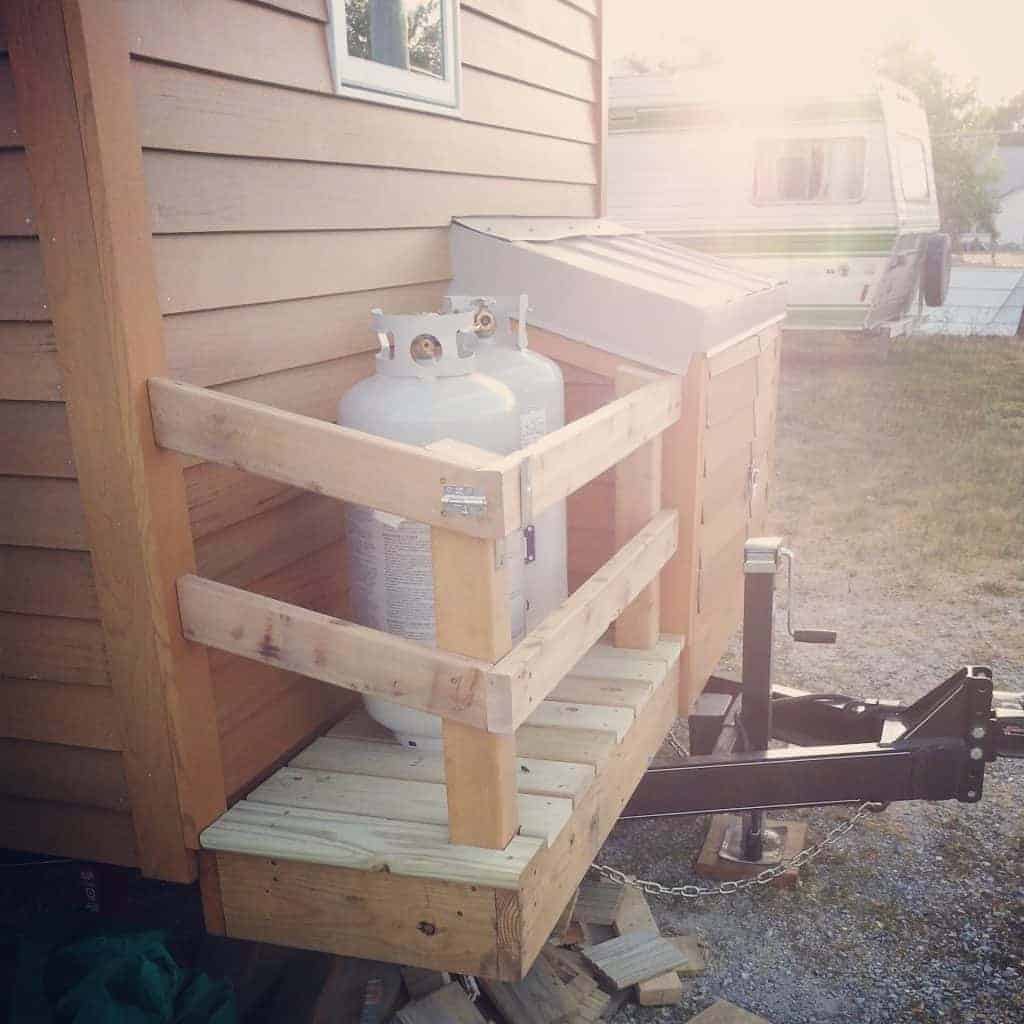
During this time, I've also done some other fun misc. things like installing the porch ceiling (using the same T&G beetle-kill pine) and creating the deck and fence to house the propane tanks on the trailer tongue.

Next up: I'll have photos of some more interior plumbing work, more finished walls in the kitchen and bathroom, plus possibly finished shower walls and a beautiful bamboo floor! Stay tuned...
The workmanship is perfect. Love the white clean walls. The exterior details are also excellent!!
Thanks, Gary!
Looking good!
A couple of quick questions:
Did you consider bead board for the walls as a way to conceal the seams?
Also, I notice the "utility deck" on the trailer tongue spans the entire width of the trailer -- are you concerned about limiting the turning radius of the trailer?
Thanks for keeping us posted,
CF
Yes, I did consider bead board, but wanted a flat wall more like drywall. I've seen tiny houses with bead board which look great, but it's not my personal aesthetic.
I actually had the tongue moved forward on the trailer when it was manufactured, so I had more room to build on it. Having that full-width box will limit the turning radius bit, but under normal driving circumstances, it won't be an issue. If I need to make a very tight turn when trying to park it somewhere, it might be a it limiting. Good question!
It also occurred to me that you could have stuck with the birch, but gone with a transition or T-molding between panels. That would have given you the clean walls, but with a decorative accent.
The flip-side of THAT is that you'd have to carefully arrange the panels so that you would end up with an artistic molding configuration.
Monday morning quarterbacking is SO much fun!
CF
Yeah thought of that too, but I really don't like strips of trim running up and across the walls. That to me would defeat the clean flat feel I was hoping for. I see tons of builders doing that because it is an easy way to cover all gaps and make it look like more care was put into it than really was. I'd much have some nice tight joints that look clean than some sloppy joints covered up by trim pieces. My walls are more than 8 feet tall (most don't have this issue with a gabled roof), so I'd have both horizontal and vertical trim pieces....not so cool in my opinion.
Absolutely! The best solution is the one that makes you happy!
You just created an interesting design challenge that forced me to consider some different options.
I like the molding option in a visual sense -- but only for vertical seams. In a tall wall orientation (like yours) molding creates more problems than it solves.
Stay tiny!
CF
Curious why go with birch ply, only to paint it?
Airstream with earthen clay walls.
https://www.greenrvlife.com/2012/02/16/5000-miles-american-clay-detail/
I wanted the smoothest finish I could get, and the sanded birch seemed the best option as opposed to a construction-grade plywood.
Hi Alek,
How did you choose to fasten the plywood? We are a few weeks out from spray foaming our tiny house and then putting up the plywood and we are going back and forth on what to fasten with and how to hide those holes. Curious what your methods and reasoning were.
Cheers,
Kenton Zerbin
I used small finish nails which I recessed with a nail set, then puttied over before painting. The nails are completely hidden once painted. Hope that helps!
Thanks for the quick response Alec!
Hmmm. I was hoping to have this interior plywood add extra rigidity/structural strength.... but we, like you, also want that smooth nice finish. Im worried that if we use construction screws the mud will pop out of the larger screw holes with travel but if we use small finishing nails we wont be getting much structural strength. Thoughts?
It will still add a good deal of rigidity with nails. I would not worry too much about filling screw holes too. That should work. if worried about vibrating shaking the putty loose, you could also use a more flexibly, sandable caulk. Might be too much work, but it's an option...
Hi Alek, just wondering how your joints have held up thus far? We are about to do the same interior method as yours, but were thinking of going with the trim (even though we'd prefer not to) because a few other tiny housers said their seams have become much more visible over time....just wondering if you have experienced the same?
Thanks!
Mine are perfect. No chance at all since I built the house. The seams were very tight to begin with, no gaps. That took a lot of work, but I am very happy without any trim at all in the house. One thing that may have contributed is that the house is framed very well (with cross-bracing), and sheathed essentially on both sides since the interior is plywood. On top of that I use closed cell spray foam that dries almost like cement so adds even more shear strnght. All combined the walls are incredibly strong (overbuilt really) and so they have no moved even a fraction of an inch even with the house traveling 4000 miles.
Good Afternoon,
how much did the Birch end up setting you back ($$)? Also did you order the wood online or from Lowes/Home Depot?
Thank you for your time and help,
Sean W.
Hi Sean -- I don't remember exactly how much it cost. I got a lot of my materials from a local lumber yard/building supply store and might have paid a bit more than Lowes prices for better quality to make sure it had a nice, smooth finish (no sanding required). But I'm sure any decent store would be fine. The trick might be finding the right thickness. I wanted 3/8" as 1/4 seemed to flimsy and 1/2 more than necessary, but the the only options I have locally were 1/4 and 1/2, so I went with the thicker 1/2 as I didn't want anything flexing or warping. But that's added weight you don't really really need, so I think 3/8 would be ideal. I would go the store in person to choose good quality pieces, because if you order online, they'll just give you whatever is on top of the pile and there may be more defects.