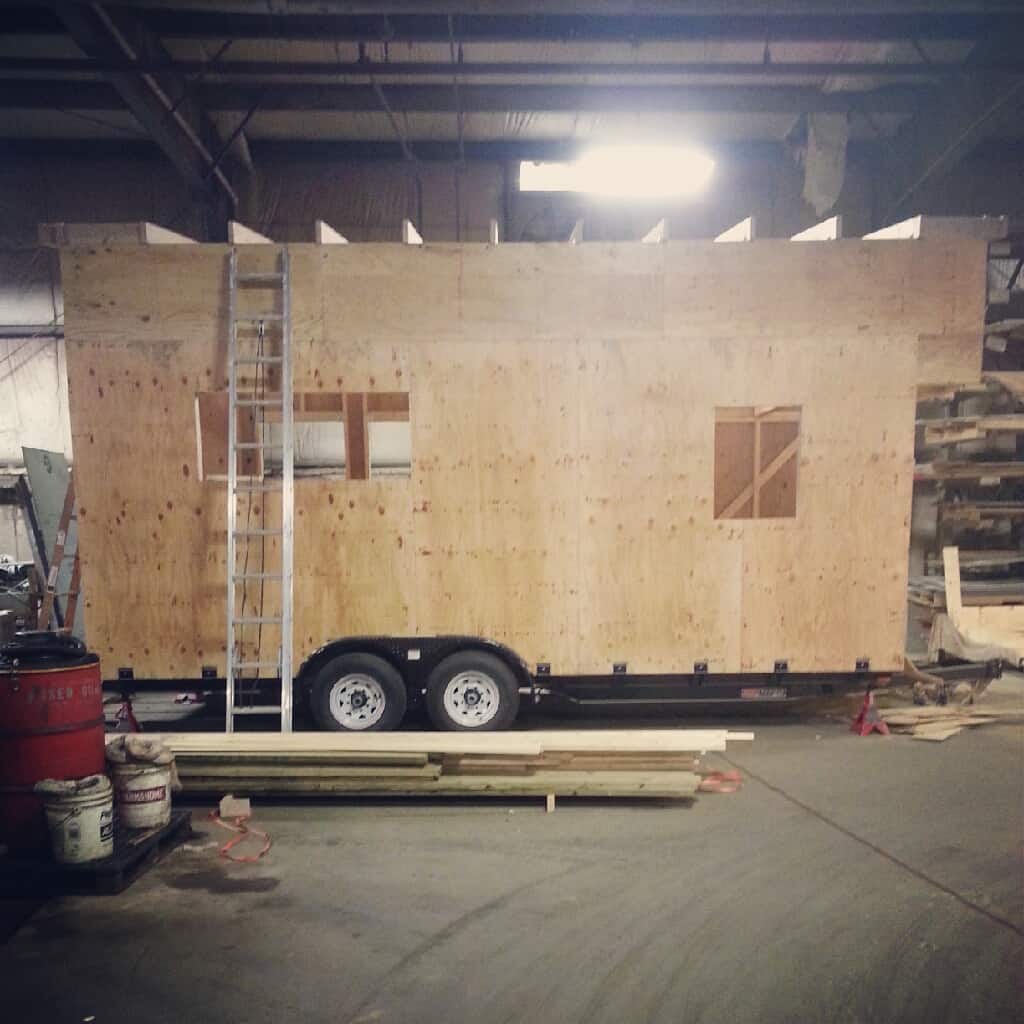
Wall sheathing done! Woo!
It's been another busy few days! Those of you who follow me on facebook may know that since the last post I already had a good start on the wall sheathing. Well now I'm happy to report that it's done!
Sheathing the walls took a lot more work than I expected. Mostly this is due to my design and the challenges of working almost entirely alone. There was not a single piece of plywood used for sheathing that did not need be cut before putting it up. All pieced along the bottom need notches cut for the trailer brackets that were used to secure the subfloor framing to the trailer. In addition, since there are so many windows in my design (10!), there is very little uninterrupted wall space.
My process went something like this:
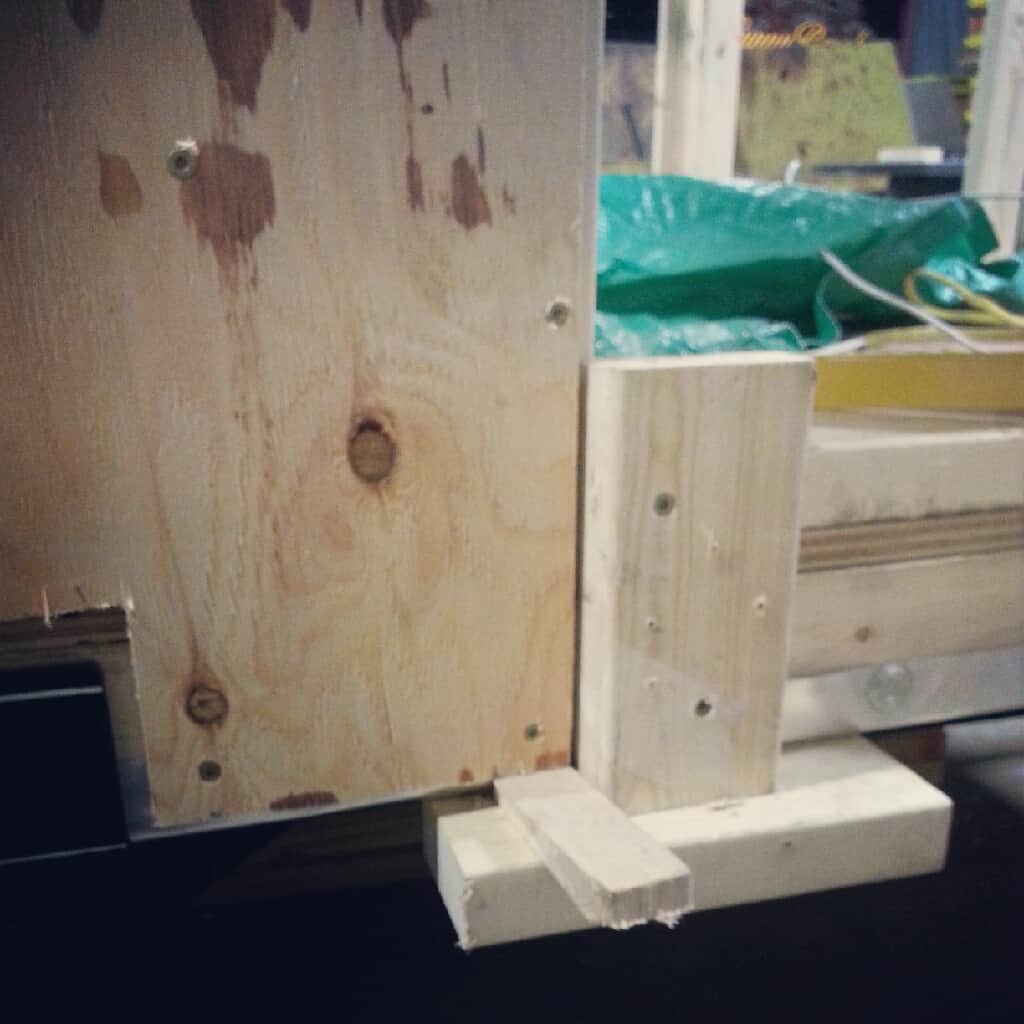
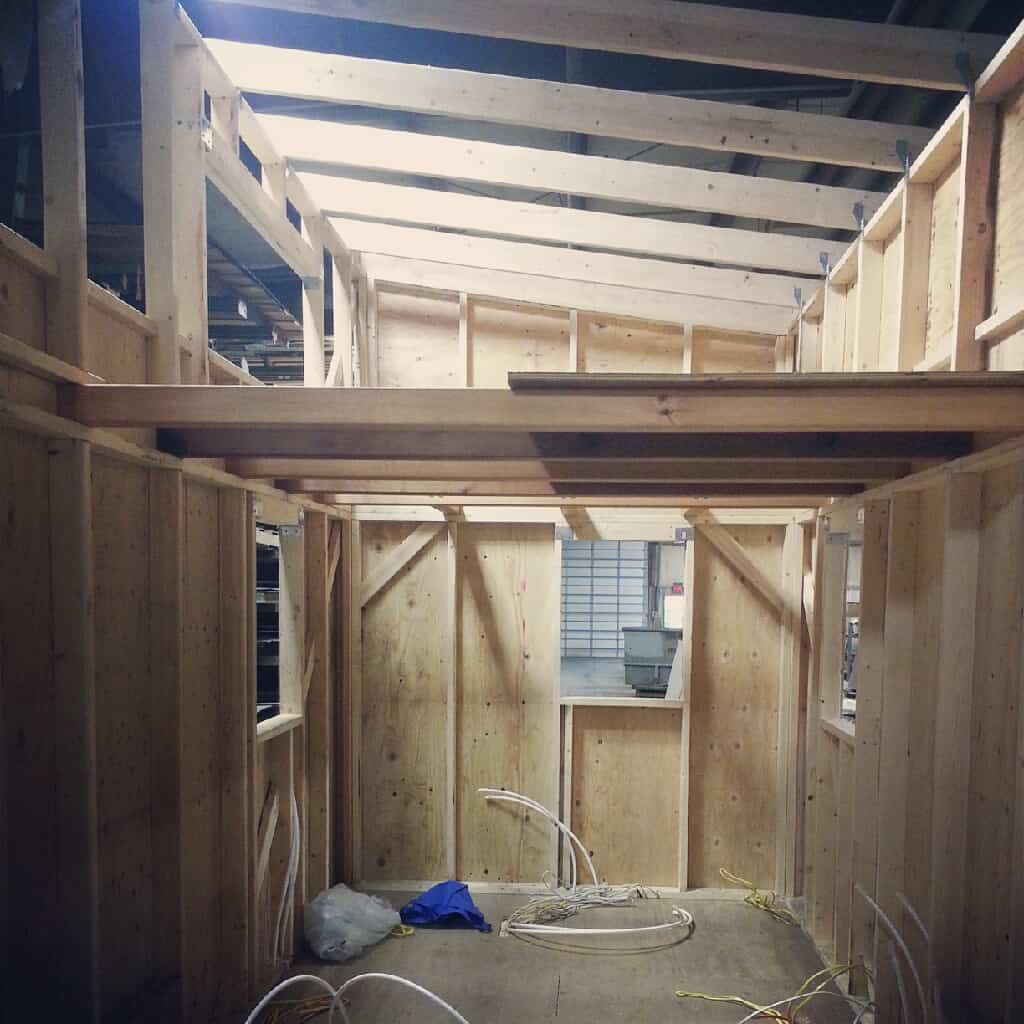
- Screw temporary supports in place to create a shelf to hold the weight of the plywood (see photo #3 below)
- Start a few screws on the edges of a fresh piece of plywood for quicker attachment once in place on the wall
- Lift into place, supported by temporary wooden blocks, use shims to level
- Quickly screw into place, just one screw each side to hold level and flush to the wall
- Trace cutouts for trailer brackets and window openings
- Remove screws and take down plywood, cut holes where traced
- Apply glue to studs for final installation
- Lift plywood back into place, re-check for level, screw into place
- Liberally apply 2 inch screws along all edges and into covered studs
- Repeat
This wasn't terribly difficult (though time consuming for sure) on the lower pieces. However, once having to do everything on an extension ladder to reach the upper portion of the house, this became much more difficult. For the upper pieces, I got my wonderful girlfriend and my dad to help. Thanks guys!
FYI - starting screws in plywood is total pain in the butt. At least I know that stuff is sturdy!
Check out the various images of the process below.


Wow! Congratulations on the progress 🙂