With experience in designing, building, teaching workshops and years of full-time tiny house living, I’m very excited to share all the tiny house tips I’ve learned with you! I offer my tiny house plans for sale, as well as a photo book that details the entire construction process. For more info, please visit my FAQ page. I continue to blog about tiny houses (both the joys and challenges!) and offer a huge list of tiny house resources with how-to’s and expert advice. To receive exclusive content and special subscriber-only discounts on tiny house plans, please sign up HERE.


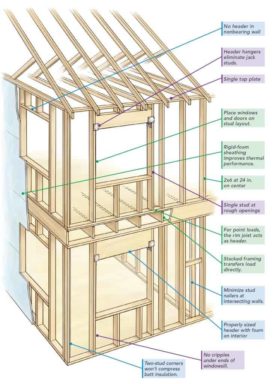
Most tiny houses, or more specifically a “tiny house on a trailer,” are mini homes built on flatbed or gooseneck trailers. Building a tiny house on a trailer means the house is considered more like an RV, and does not need to adhere to the same square footage requirements, permits and codes associated with building a normal home on a foundation. Tiny houses use a tiny house trailer as their “foundation.” Building a tiny house on wheels allows for the mini home to be towed just about anywhere, giving the tiny house owner nearly unlimited freedom and flexibility.
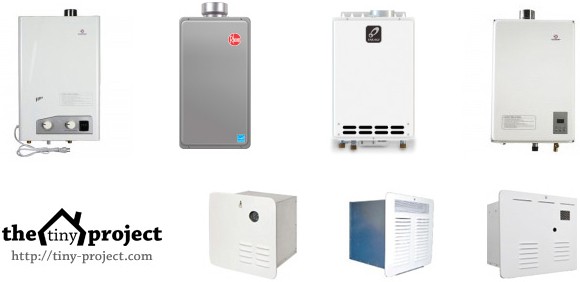
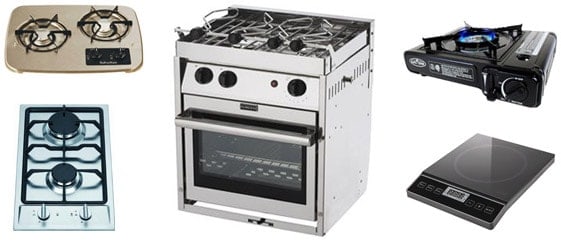
Tiny homes are usually under 8.5 feet wide and vary in length from 12 to 30 feet. Tiny houses are restricted to 13.5 feet in order to fit under highway underpasses. Most tiny homes include a sleeping loft. Some (like our tiny house floor plans) include complete plumbing and electrical systems, like a full-size house would have, while others choose to live more simply, without water, and possible with solar as their only form of electricity.
No matter what tiny houses plans are used, no matter how the mini home is designed and constructed, tiny house owners tend to choose to do so for one of several reasons:


Enter your email address below to receive two free tiny house guides: Tiny House Living, and Tiny House Utilities